Import a Spritix Sprite Sheet into Godot
Slice a sprite sheet, create a walk animation with AnimatedSprite2D, and match playback speed in Godot 4.
This tutorial takes one finished Spritix sprite sheet and plays it in Godot. You will create a walk animation with AnimatedSprite2D, Godot's node for playing a sequence of 2D images. You do not need a JSON importer or a Spritix runtime.
The downloadable project was checked with Godot 4.5.1, using its Compatibility renderer. It contains a 25-frame Luna Walk animation. It demonstrates slicing and playback; it does not include movement, collisions, or a character controller.
Get the sample files
- Download the complete Godot example. Unzip it, import
project.godotin Godot's Project Manager, open the project, and use Run Current Scene withmain.tscnopen (F6 on Windows/Linux, Command–R on macOS). - To build it yourself, download the Luna Walk Sprite Sheet PNG and follow the steps below.

Save the full PNG, not the small WebP preview from the gallery. The sample is 4800 × 4800 px, with 5 columns and 5 rows. Each of its 25 frames is 960 × 960 px.
If you are using your own animation, finish your loop edits and download its Sprite Sheet and Atlas JSON first. Your grid and frame size may differ from Luna's; use the values from your own export.
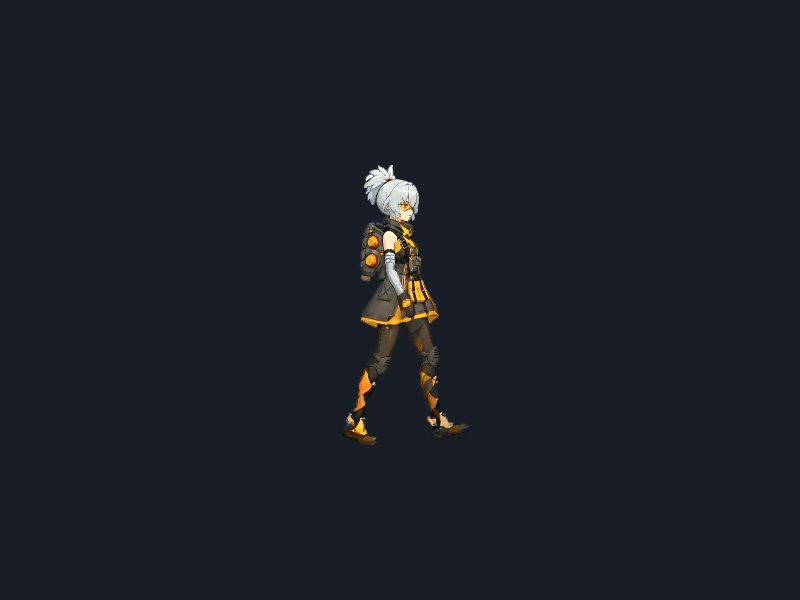
All screenshots below were captured in Godot 4.5.1 with the editor language set to English, using the original Luna Walk PNG. We created a new scene, imported and sliced the sheet, and ran the animation.
1. Add the sheet to a project
Create a Godot 4 project using the Compatibility renderer. Copy the PNG into the project folder and wait for it to appear in the FileSystem dock. Rename your copy luna-walk.png if you want it to match the example project.
Create a 2D Scene with a Node2D root, keep the root named Node2D, and save it as luna-import.tscn. Add an AnimatedSprite2D child. Your scene tree should look like this:
Node2D
└── AnimatedSprite2D
For a layout matching the example, set the project's viewport to 800 × 600 in Project Settings under Display → Window. Select the sprite and set its Position to (400, 300) and Scale to (0.4, 0.4) in the Inspector. Each original frame is large; this scale makes it comfortable to inspect without resizing the PNG itself.
2. Create the animation resource
Select AnimatedSprite2D. In the Inspector, find Sprite Frames and create a New SpriteFrames resource. This SpriteFrames resource stores your animation frames and their playback settings.

Open the menu beside Sprite Frames, then choose SpriteFrames under New.
Click the resource to open the SpriteFrames panel. Leave the animation named default while importing the sheet; we will rename it walk after adding the frames.
3. Slice the five-by-five grid
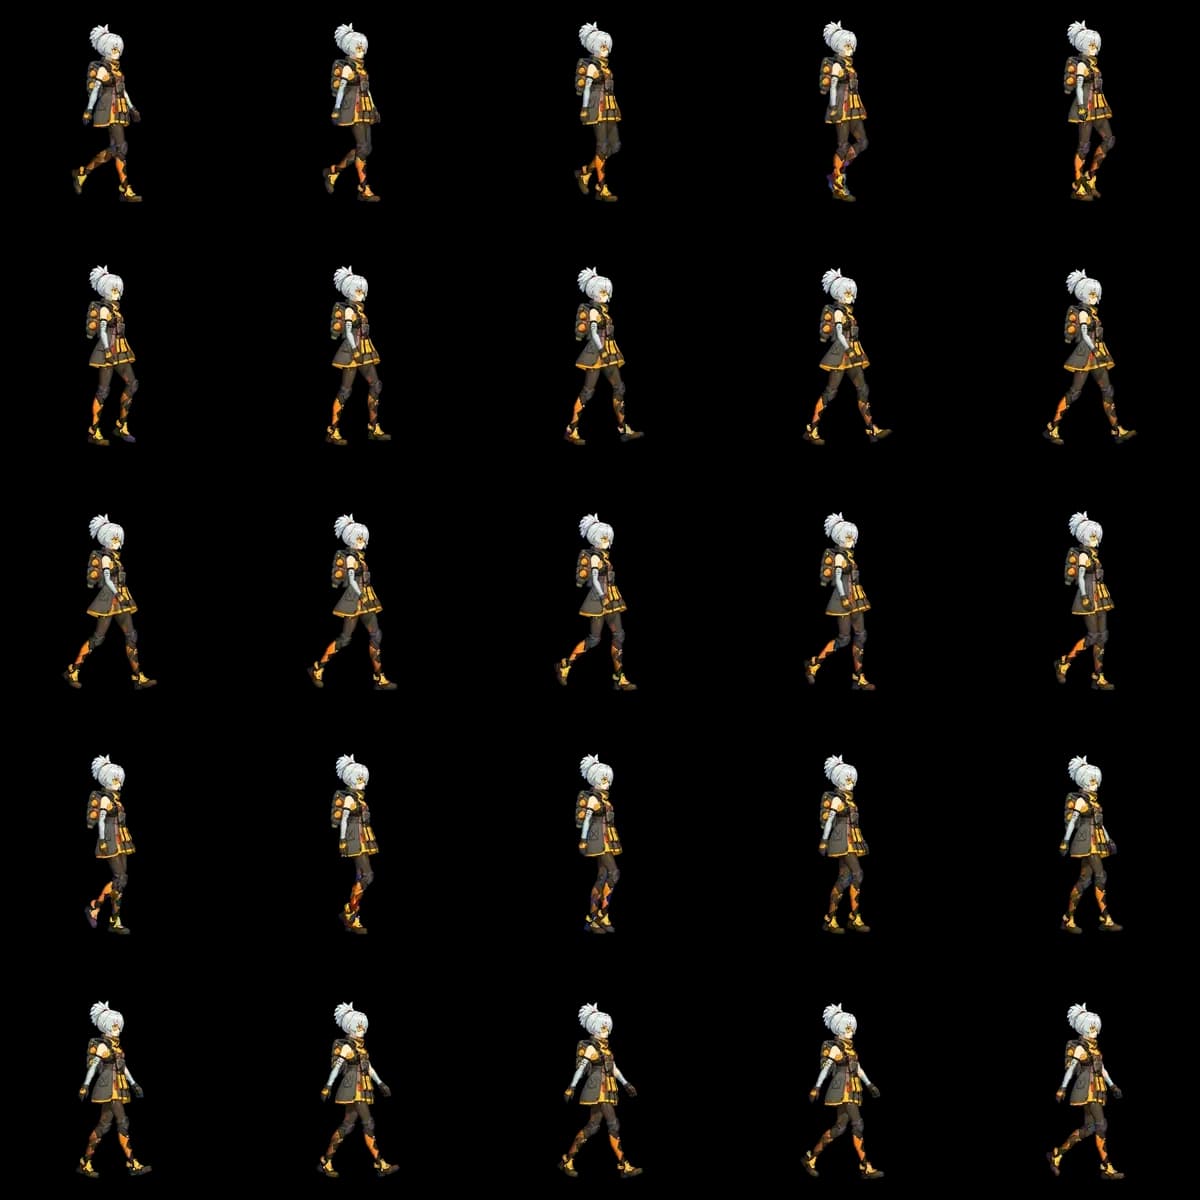
This is a preview of the grid. Import the full PNG linked above: it has 960 × 960 px cells.
In the SpriteFrames panel, choose Add frames from a Sprite Sheet and open luna-walk.png.
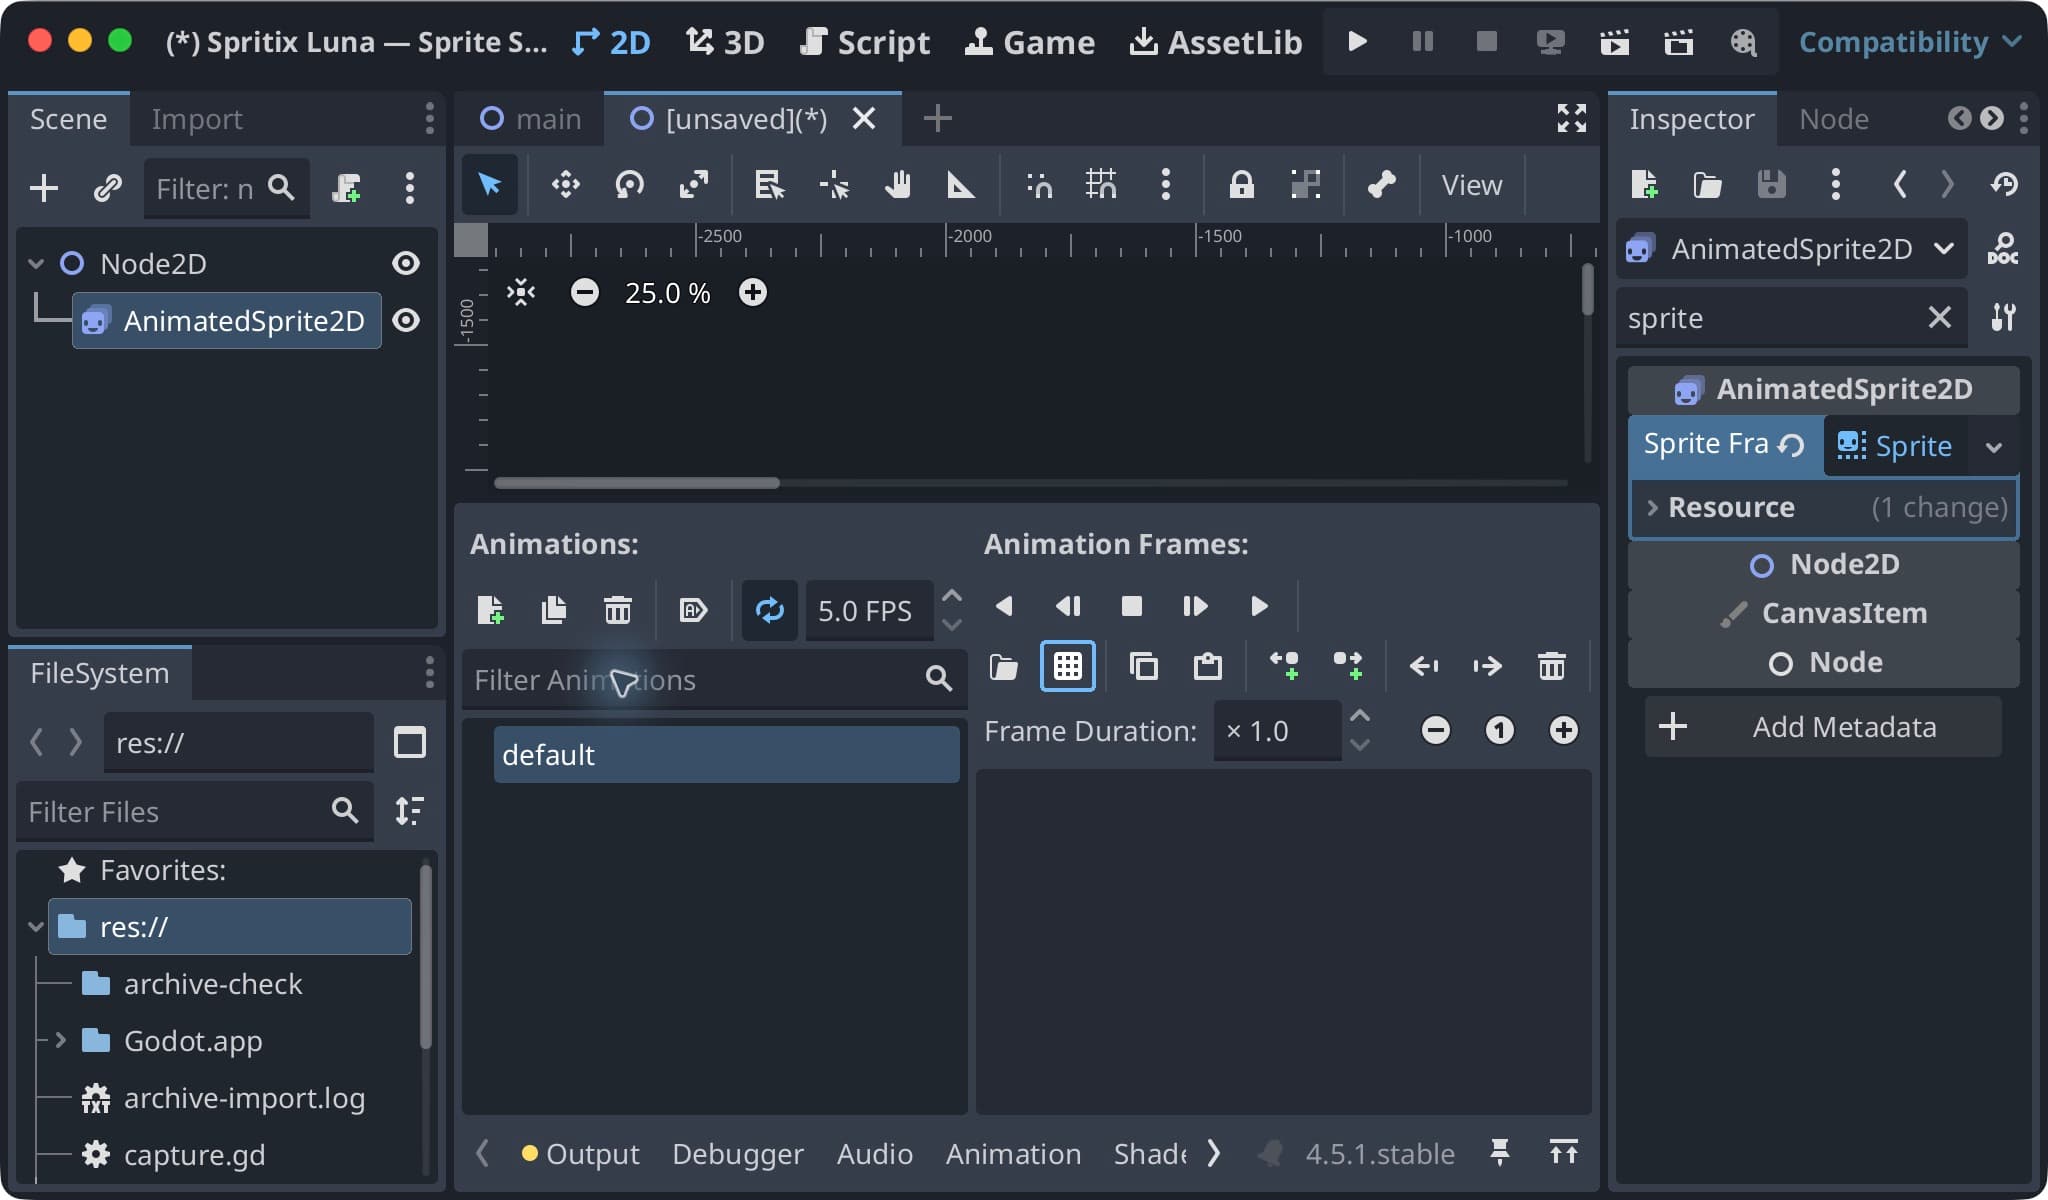
Use the grid icon in the SpriteFrames toolbar to open your sheet.
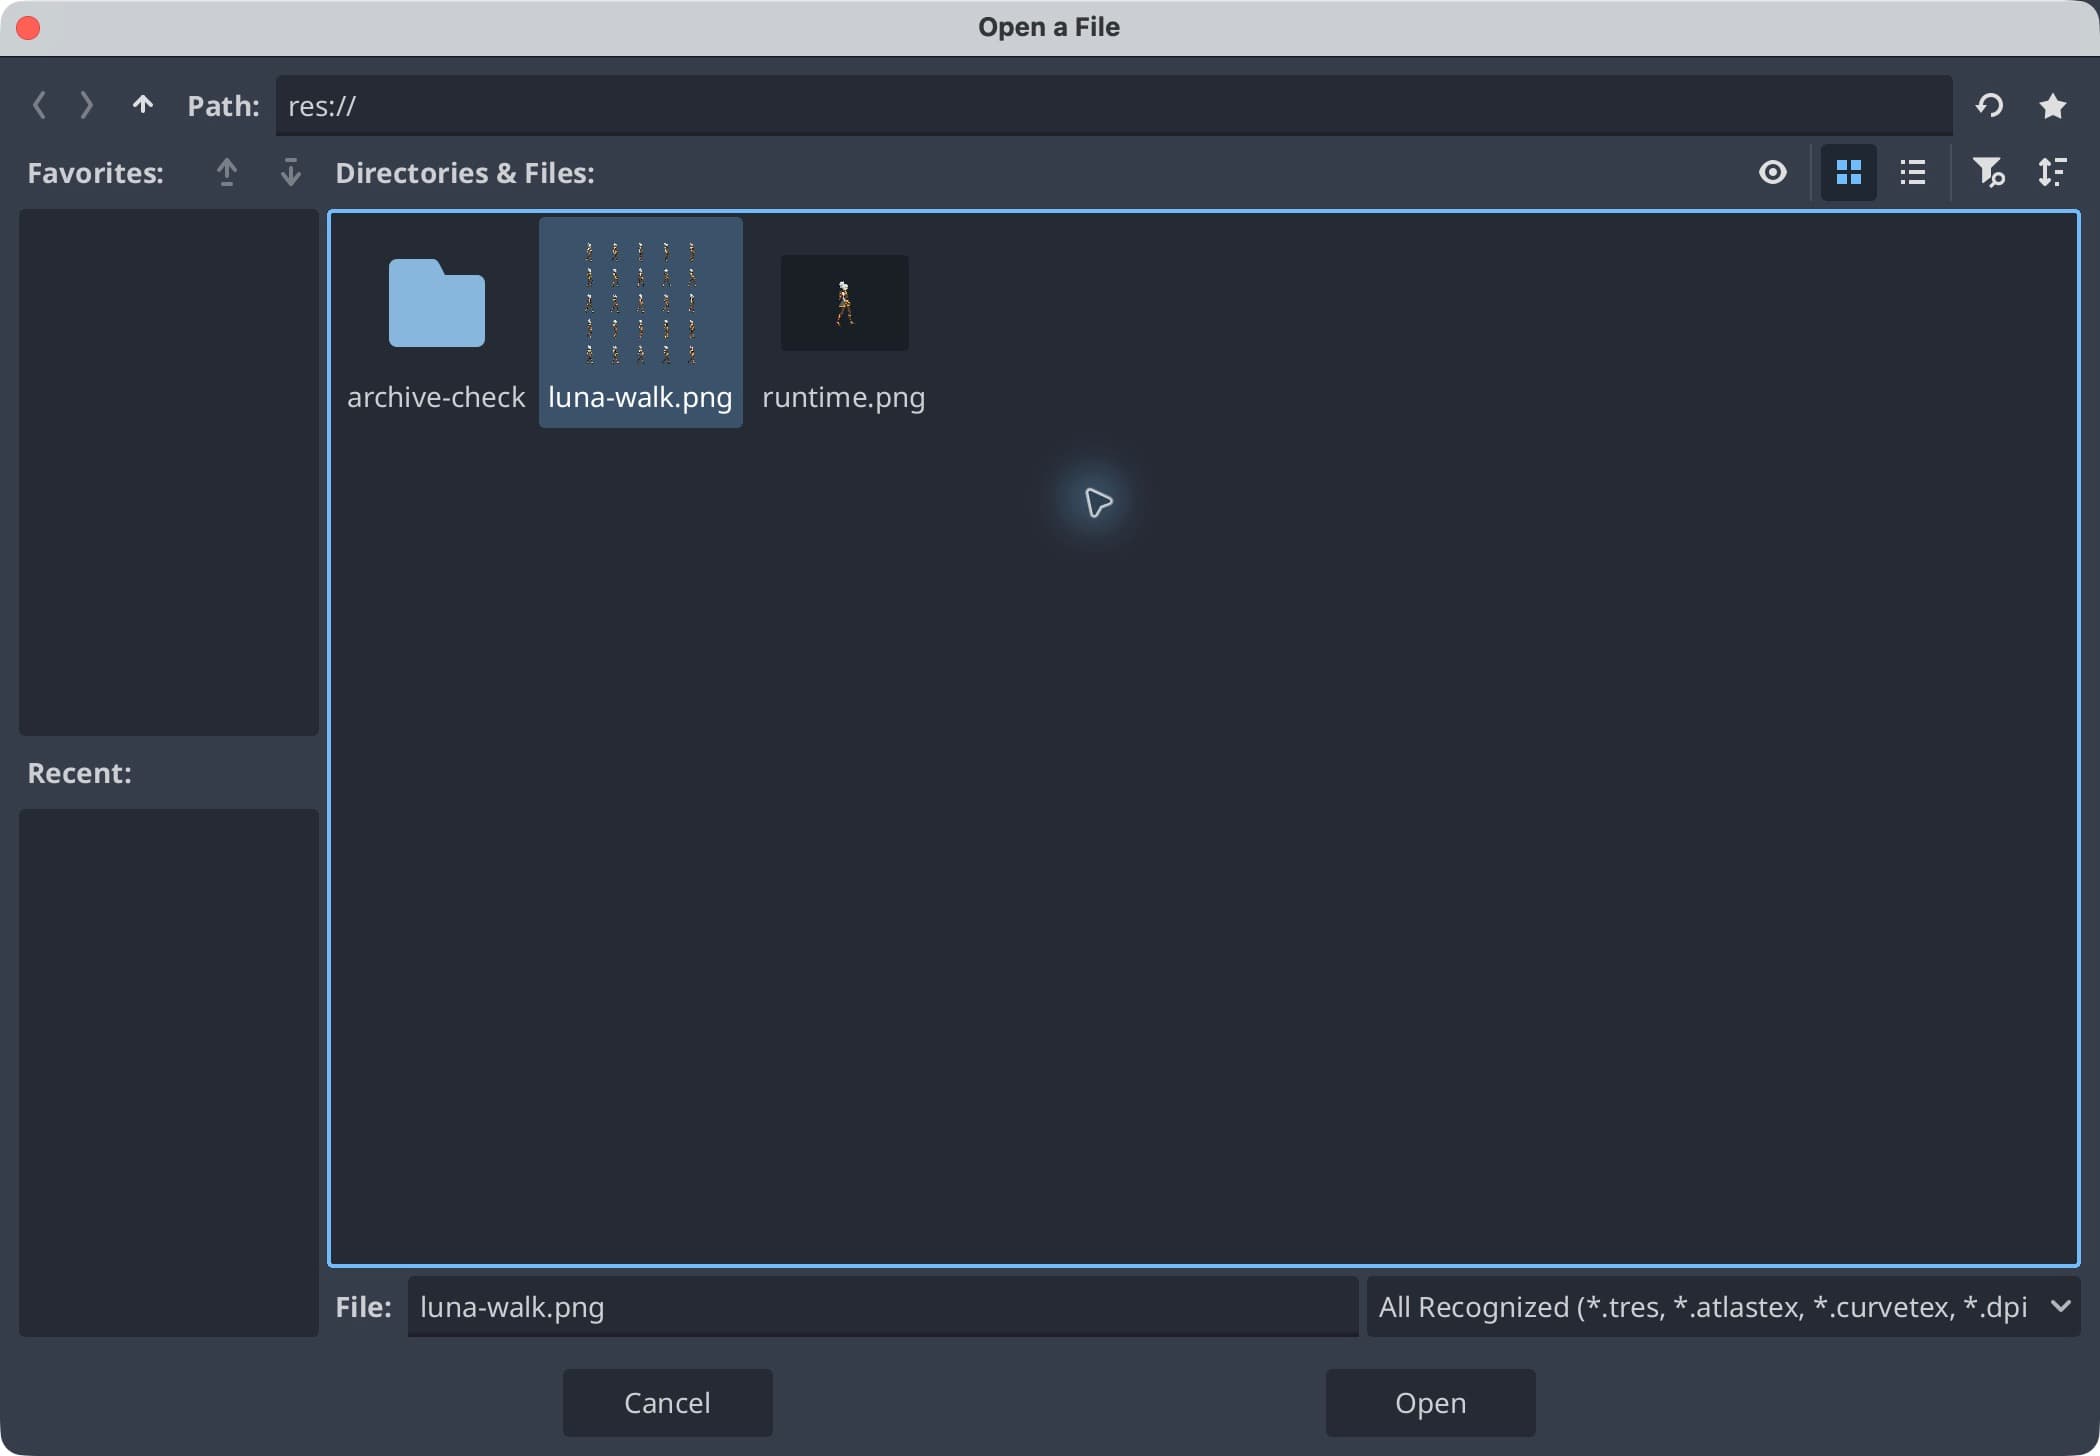
Select the full luna-walk.png file, then choose Open.
Set Horizontal to 5 and Vertical to 5. Set Frame Order to Left to Right, Top to Bottom, then click Select All.
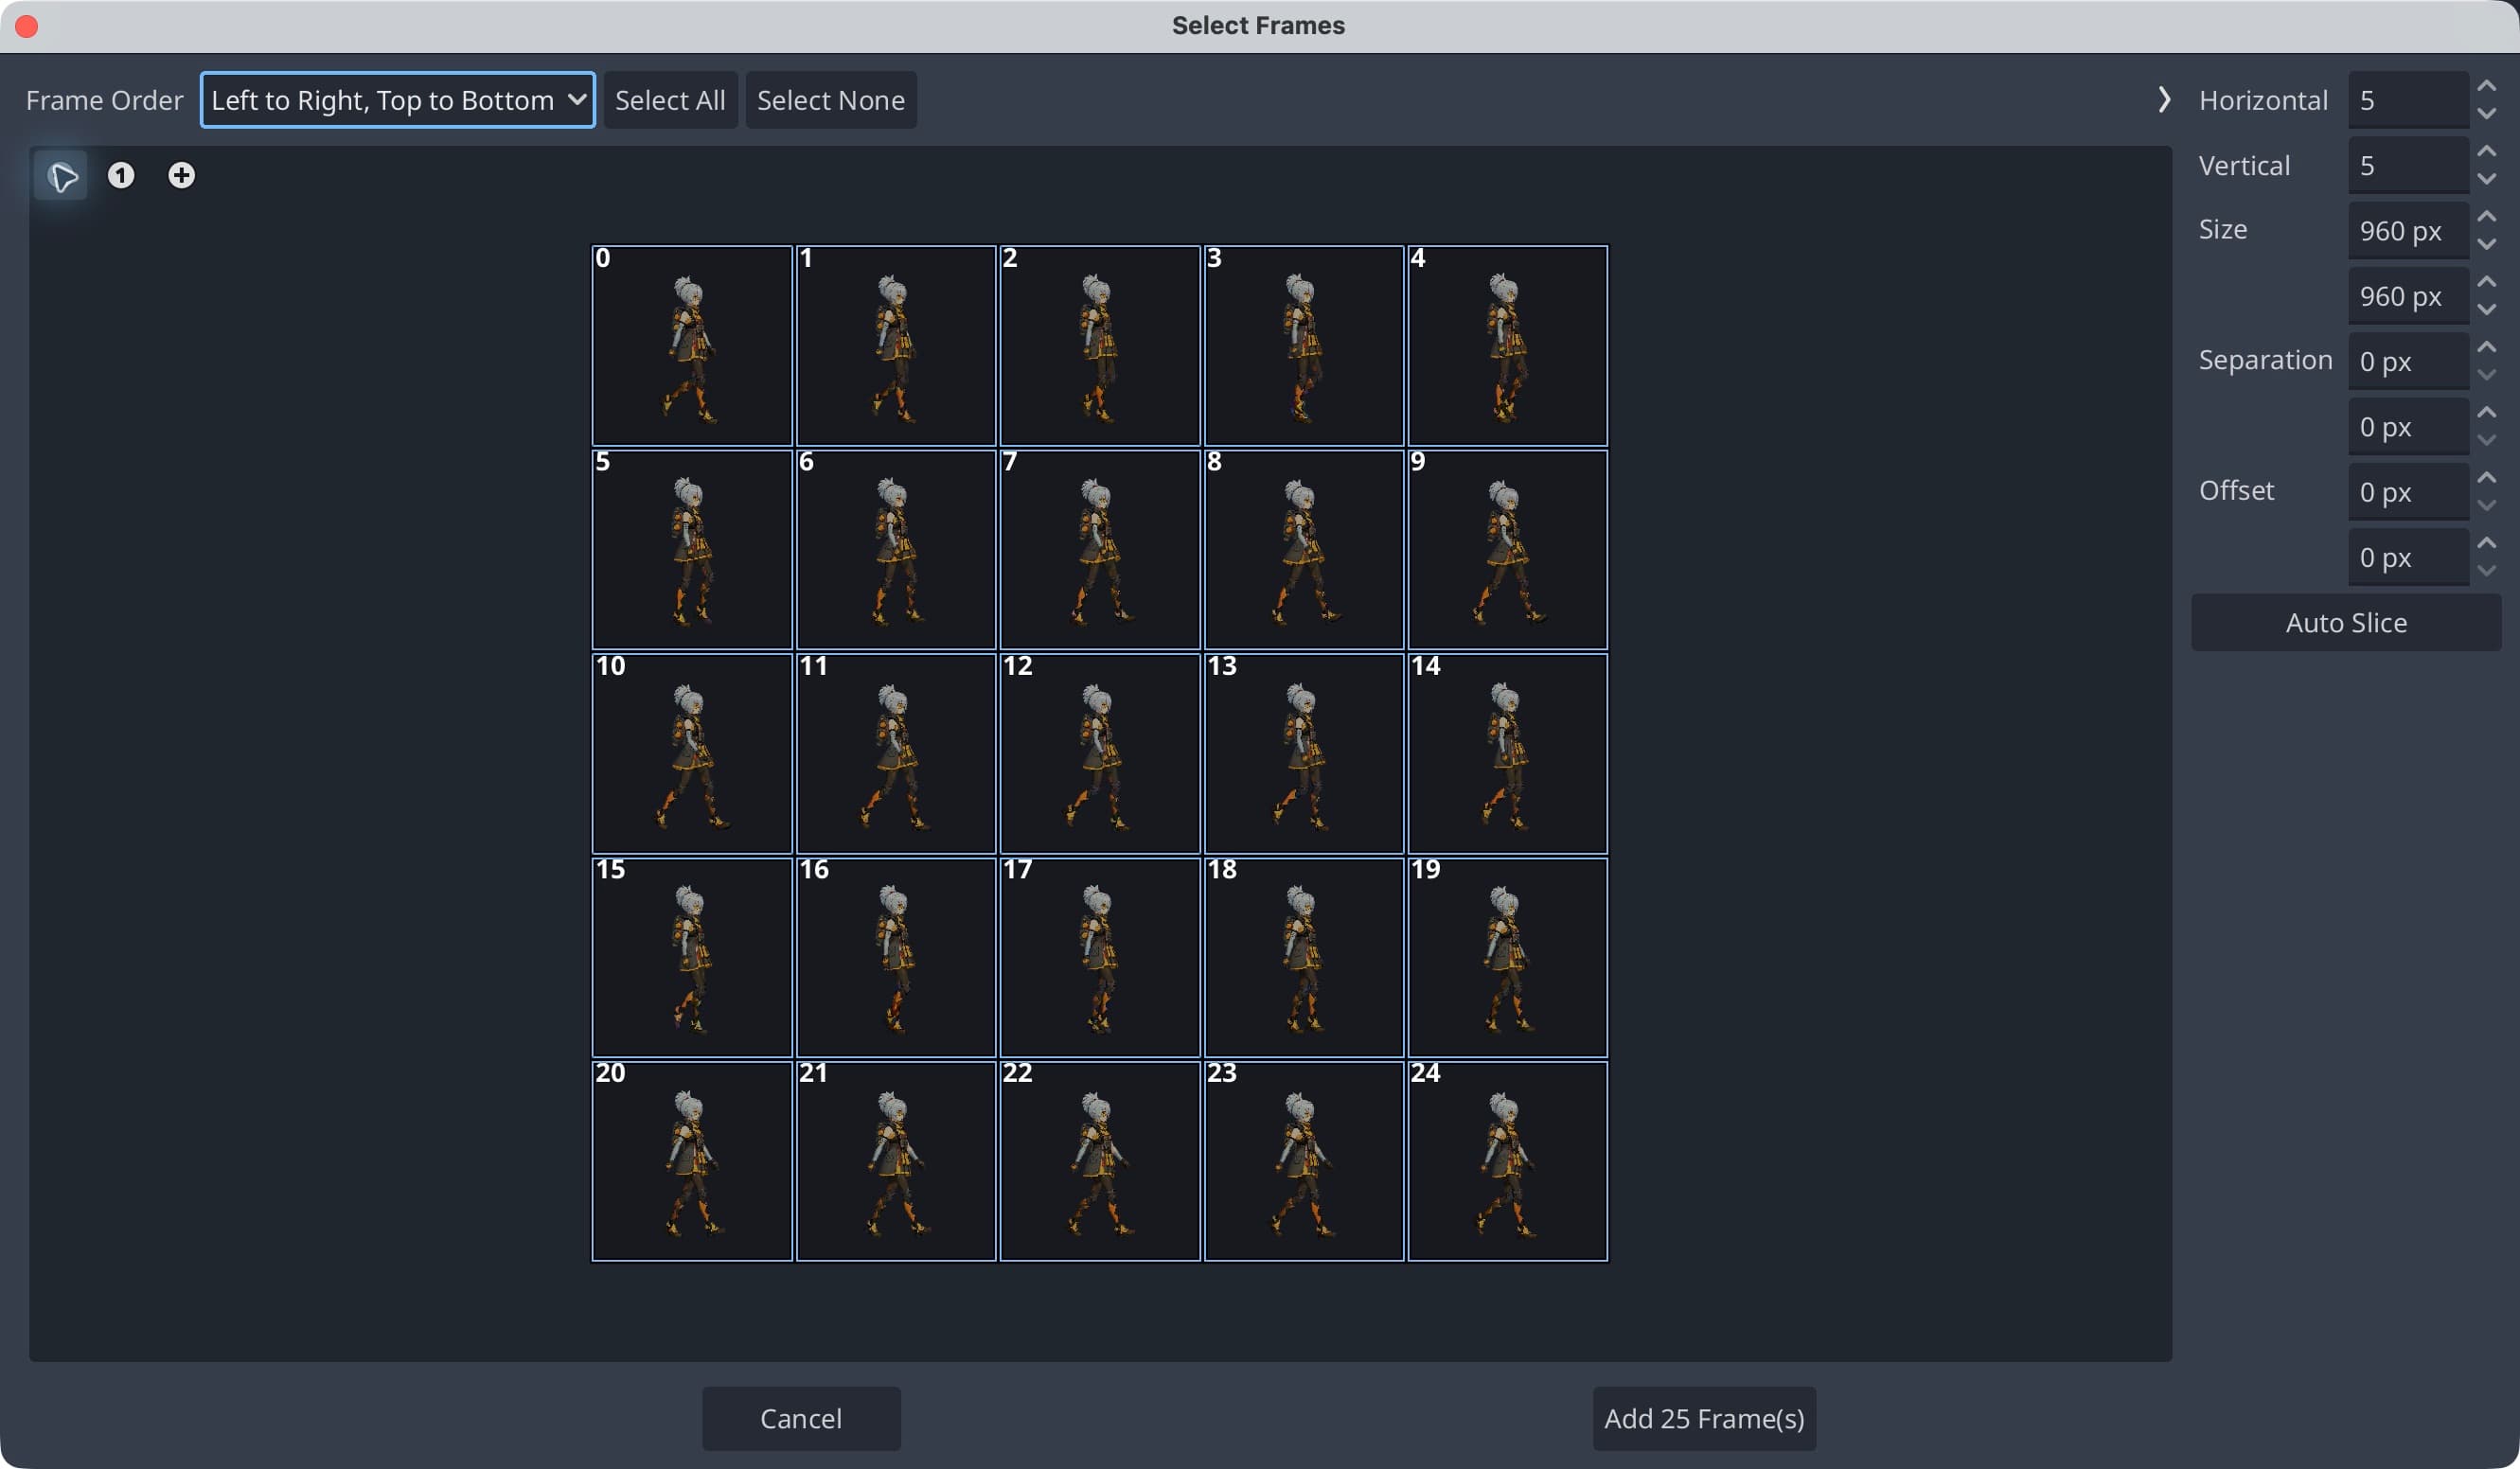
The actual Luna sheet: 5 columns, 5 rows, 960 × 960 px cells, and all 25 frames selected. Click Add 25 Frame(s). Use the minus button to zoom out if the whole sheet does not fit.
These numbers are the counts of columns and rows, not pixels. Each selection rectangle should surround exactly one complete character frame. If it cuts through a character, stop and fix the grid before adding frames.
Add the selected frames and inspect the resulting strip. It should have 25 entries, beginning at the top-left cell and ending at the bottom-right.
For your own Spritix exports, use this grid:
| Exported Frames | Horizontal | Vertical |
|---|---|---|
| 4 | 2 | 2 |
| 16 | 4 | 4 |
| 25 | 5 | 5 |
| 49 | 7 | 7 |
| 64 | 8 | 8 |
The small transparent margin in each cell belongs to that frame. Do not crop each frame independently: changing the canvas around every pose can make the character wobble during playback.
4. Set speed and looping
Rename default to walk in the animation list (select it and press F2). Use that exact spelling when calling it from code.
For the Luna sample, set Speed (FPS) to 10 (FPS means frames per second) and enable looping. That plays 25 frames over 2.5 seconds. Ten FPS is a demonstration choice, not a recovered setting from the original Luna generation.
For your own single-direction export, check Frame rate in Spritix’s Export tab and use that value instead. The matching Atlas JSON also records it as meta.fps. Keep frame durations at their default equal weights when following this method. Do not multiply the exported rate by the Studio Speed setting again; the export already accounts for it.
A PNG does not store playback speed. If you import only the image, Godot cannot infer how quickly you intended it to play. The export format guide explains where that information lives.
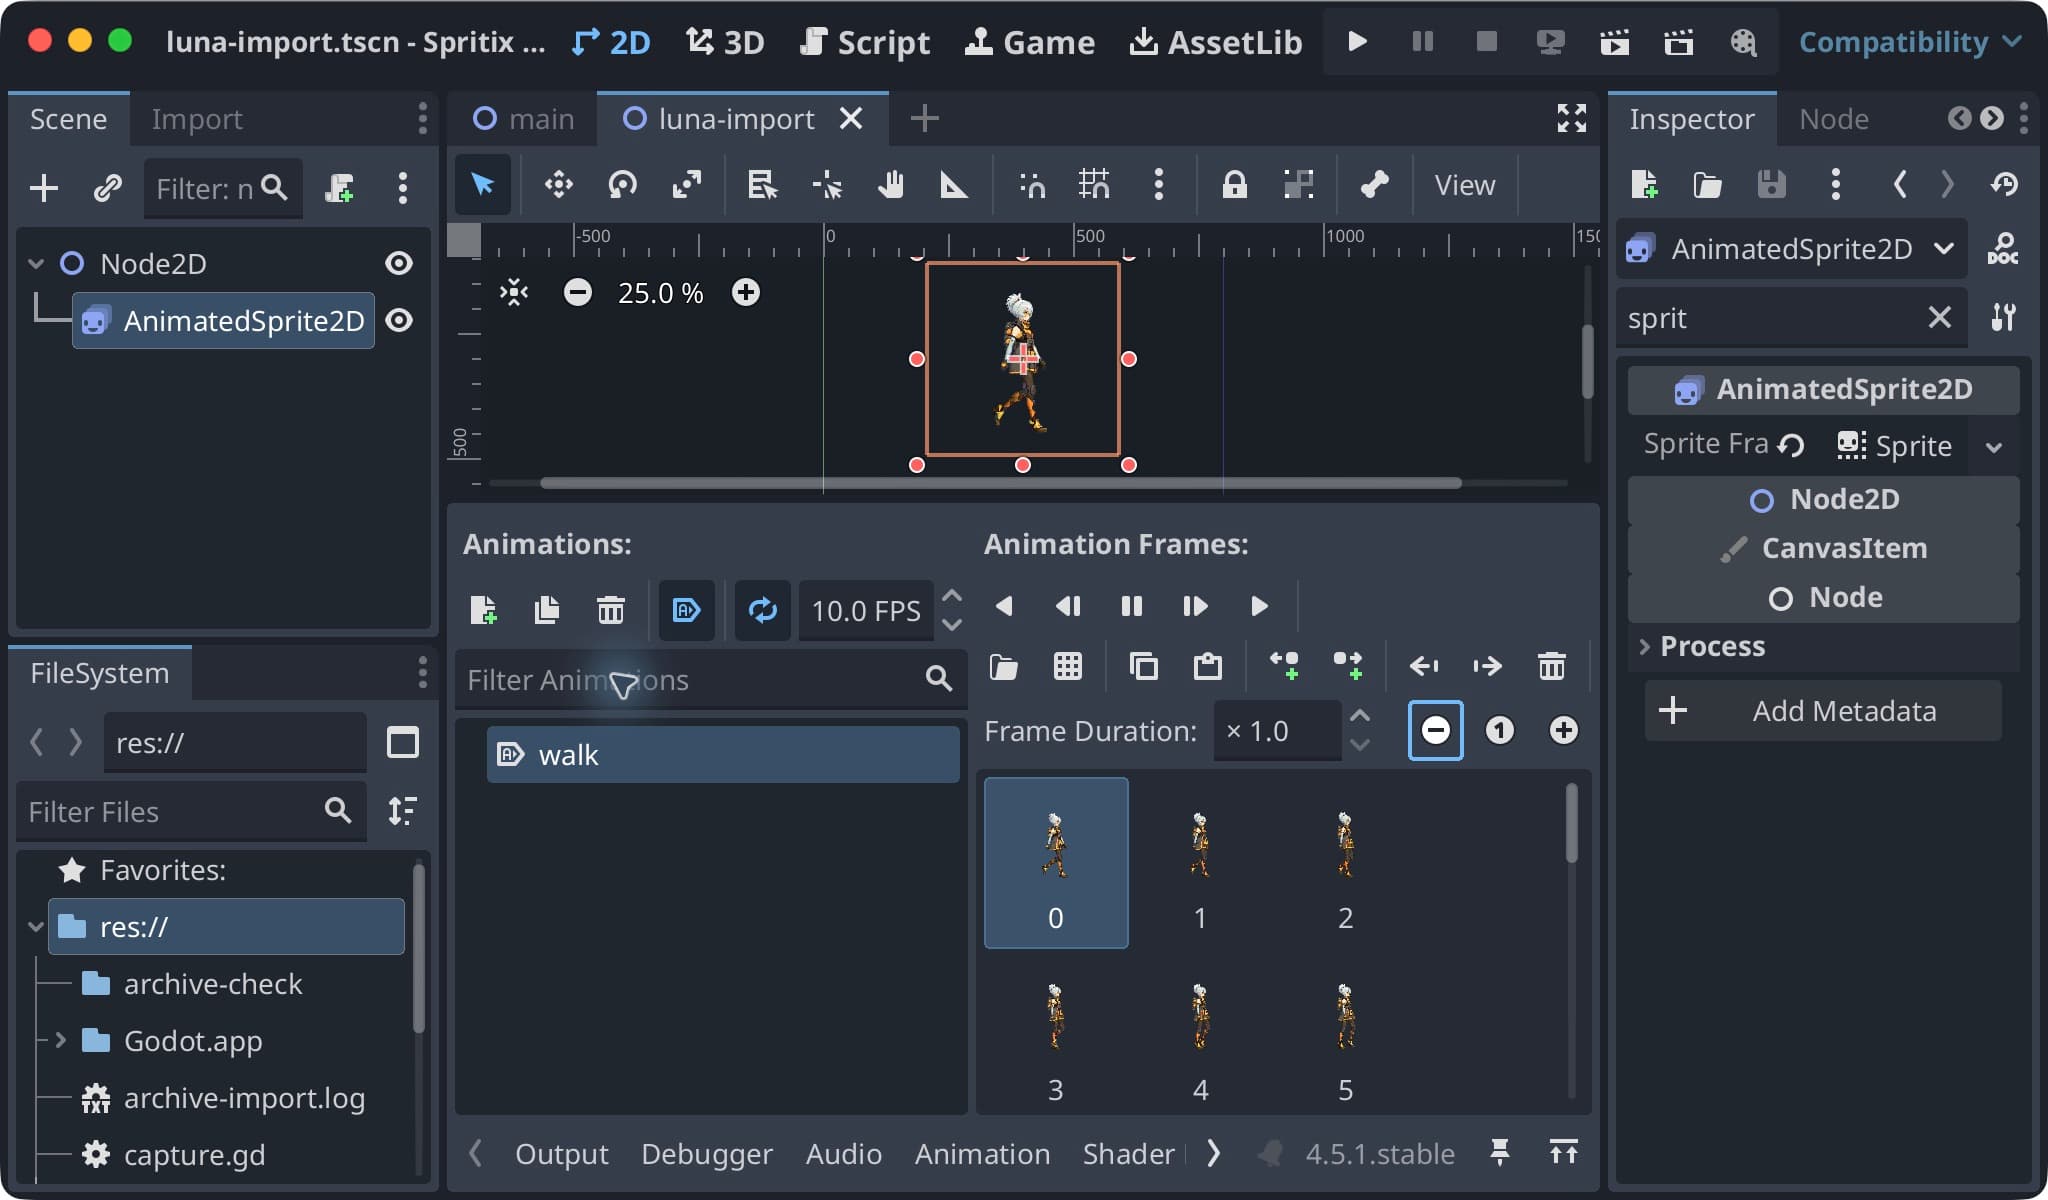
Luna in the editor: walk at 10 FPS, with looping enabled. The small A/play icon beside the animation name indicates Autoplay on Load; the next step explains when to enable it. Scroll the frame panel to inspect all 25 entries.
Use the SpriteFrames play control to preview the animation. Watch several repeats and check the last-to-first transition.
5. Run the scene
Enable Autoplay on Load for walk in the SpriteFrames panel, save the scene, and choose Run Current Scene in the top toolbar to run it (F6 on Windows/Linux, Command–R on macOS). Previewing an animation in the editor alone does not make it start automatically in the running scene.
If you prefer to start it from a script, turn autoplay off and attach this script to the Node2D root:
extends Node2D

func _ready() -> void:
    $AnimatedSprite2D.play("walk")
Use either autoplay or the script for this simple example. A game with movement states will choose animations from its character controller instead.
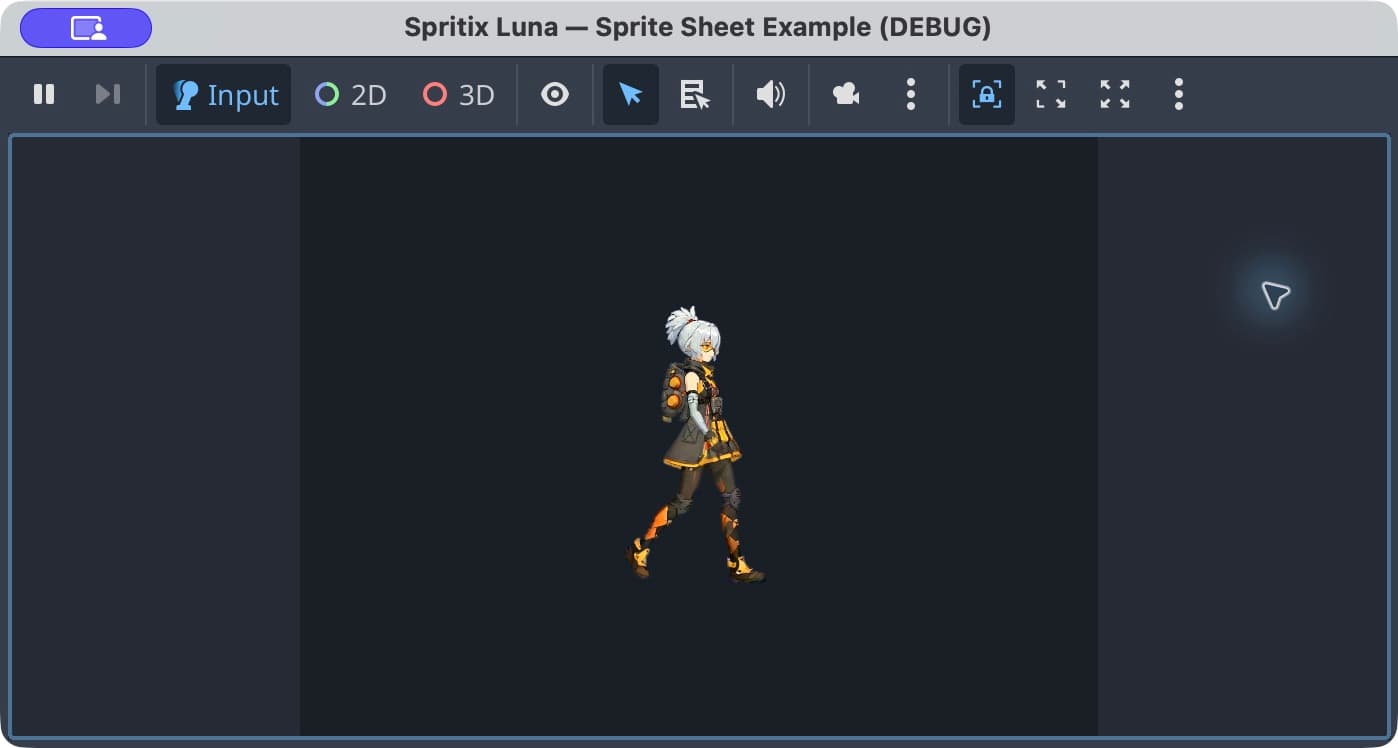
Expected result: one animated character on the scene background, rather than the entire grid.
Fix common import problems
| Problem | What to check |
|---|---|
| The whole sheet appears at once | Use AnimatedSprite2D with sliced SpriteFrames, rather than displaying the PNG as one Sprite2D texture. |
| Parts of two poses appear in one frame | Check the horizontal and vertical grid counts and use the full Sprite Sheet PNG. |
| Animation plays in the editor but not in the scene | Enable Autoplay on Load, or call play("walk"). |
| Motion looks too fast or slow | Match the export's FPS and check that playback speed has not been applied twice. |
| Pixel art looks blurred | Set the sprite's Texture Filter to Nearest. For illustrated art, compare with Linear and choose the appearance you want. |
| The character jumps at the loop boundary | Check frame order first, then return to Studio to review Trim or Perfect Loop. |
| Feet drift or equipment changes shape | Inspect the source frames. Grid slicing cannot repair generation errors. |
Add another action or direction
Add another named animation to the same SpriteFrames resource, import that action's sheet, and set its own FPS and loop option. Idle and Walk often loop. A one-shot Jump or Attack may need looping disabled and game logic to return to Idle afterward.
For an eight-direction export, unzip the Sprite Sheet download and import each available direction as a separate named animation, such as walk_e and walk_w. The western mirrored sheet is already flipped; do not flip it again. Direction timing can differ, so consult the corresponding directional Atlas animation rather than applying one FPS to every view.
This sample does not implement eight-direction input or state switching. Prepare the views using the character and direction guide, then connect animation selection to your game's movement logic.
Check the result at game scale
Run the scene at the size players will actually see. Check the silhouette, transparent edges, foot contact, and repeat point. If those look right, you have a working animation asset to integrate with movement and collision logic.
To create more animations, return to the complete Spritix workflow. For the origin and limitations of these sample assets, read the Luna case study.
Godot's official 2D sprite animation guide covers AnimatedSprite2D and the alternative AnimationPlayer approach. The downloadable example here uses the simpler AnimatedSprite2D workflow.
Más publicaciones
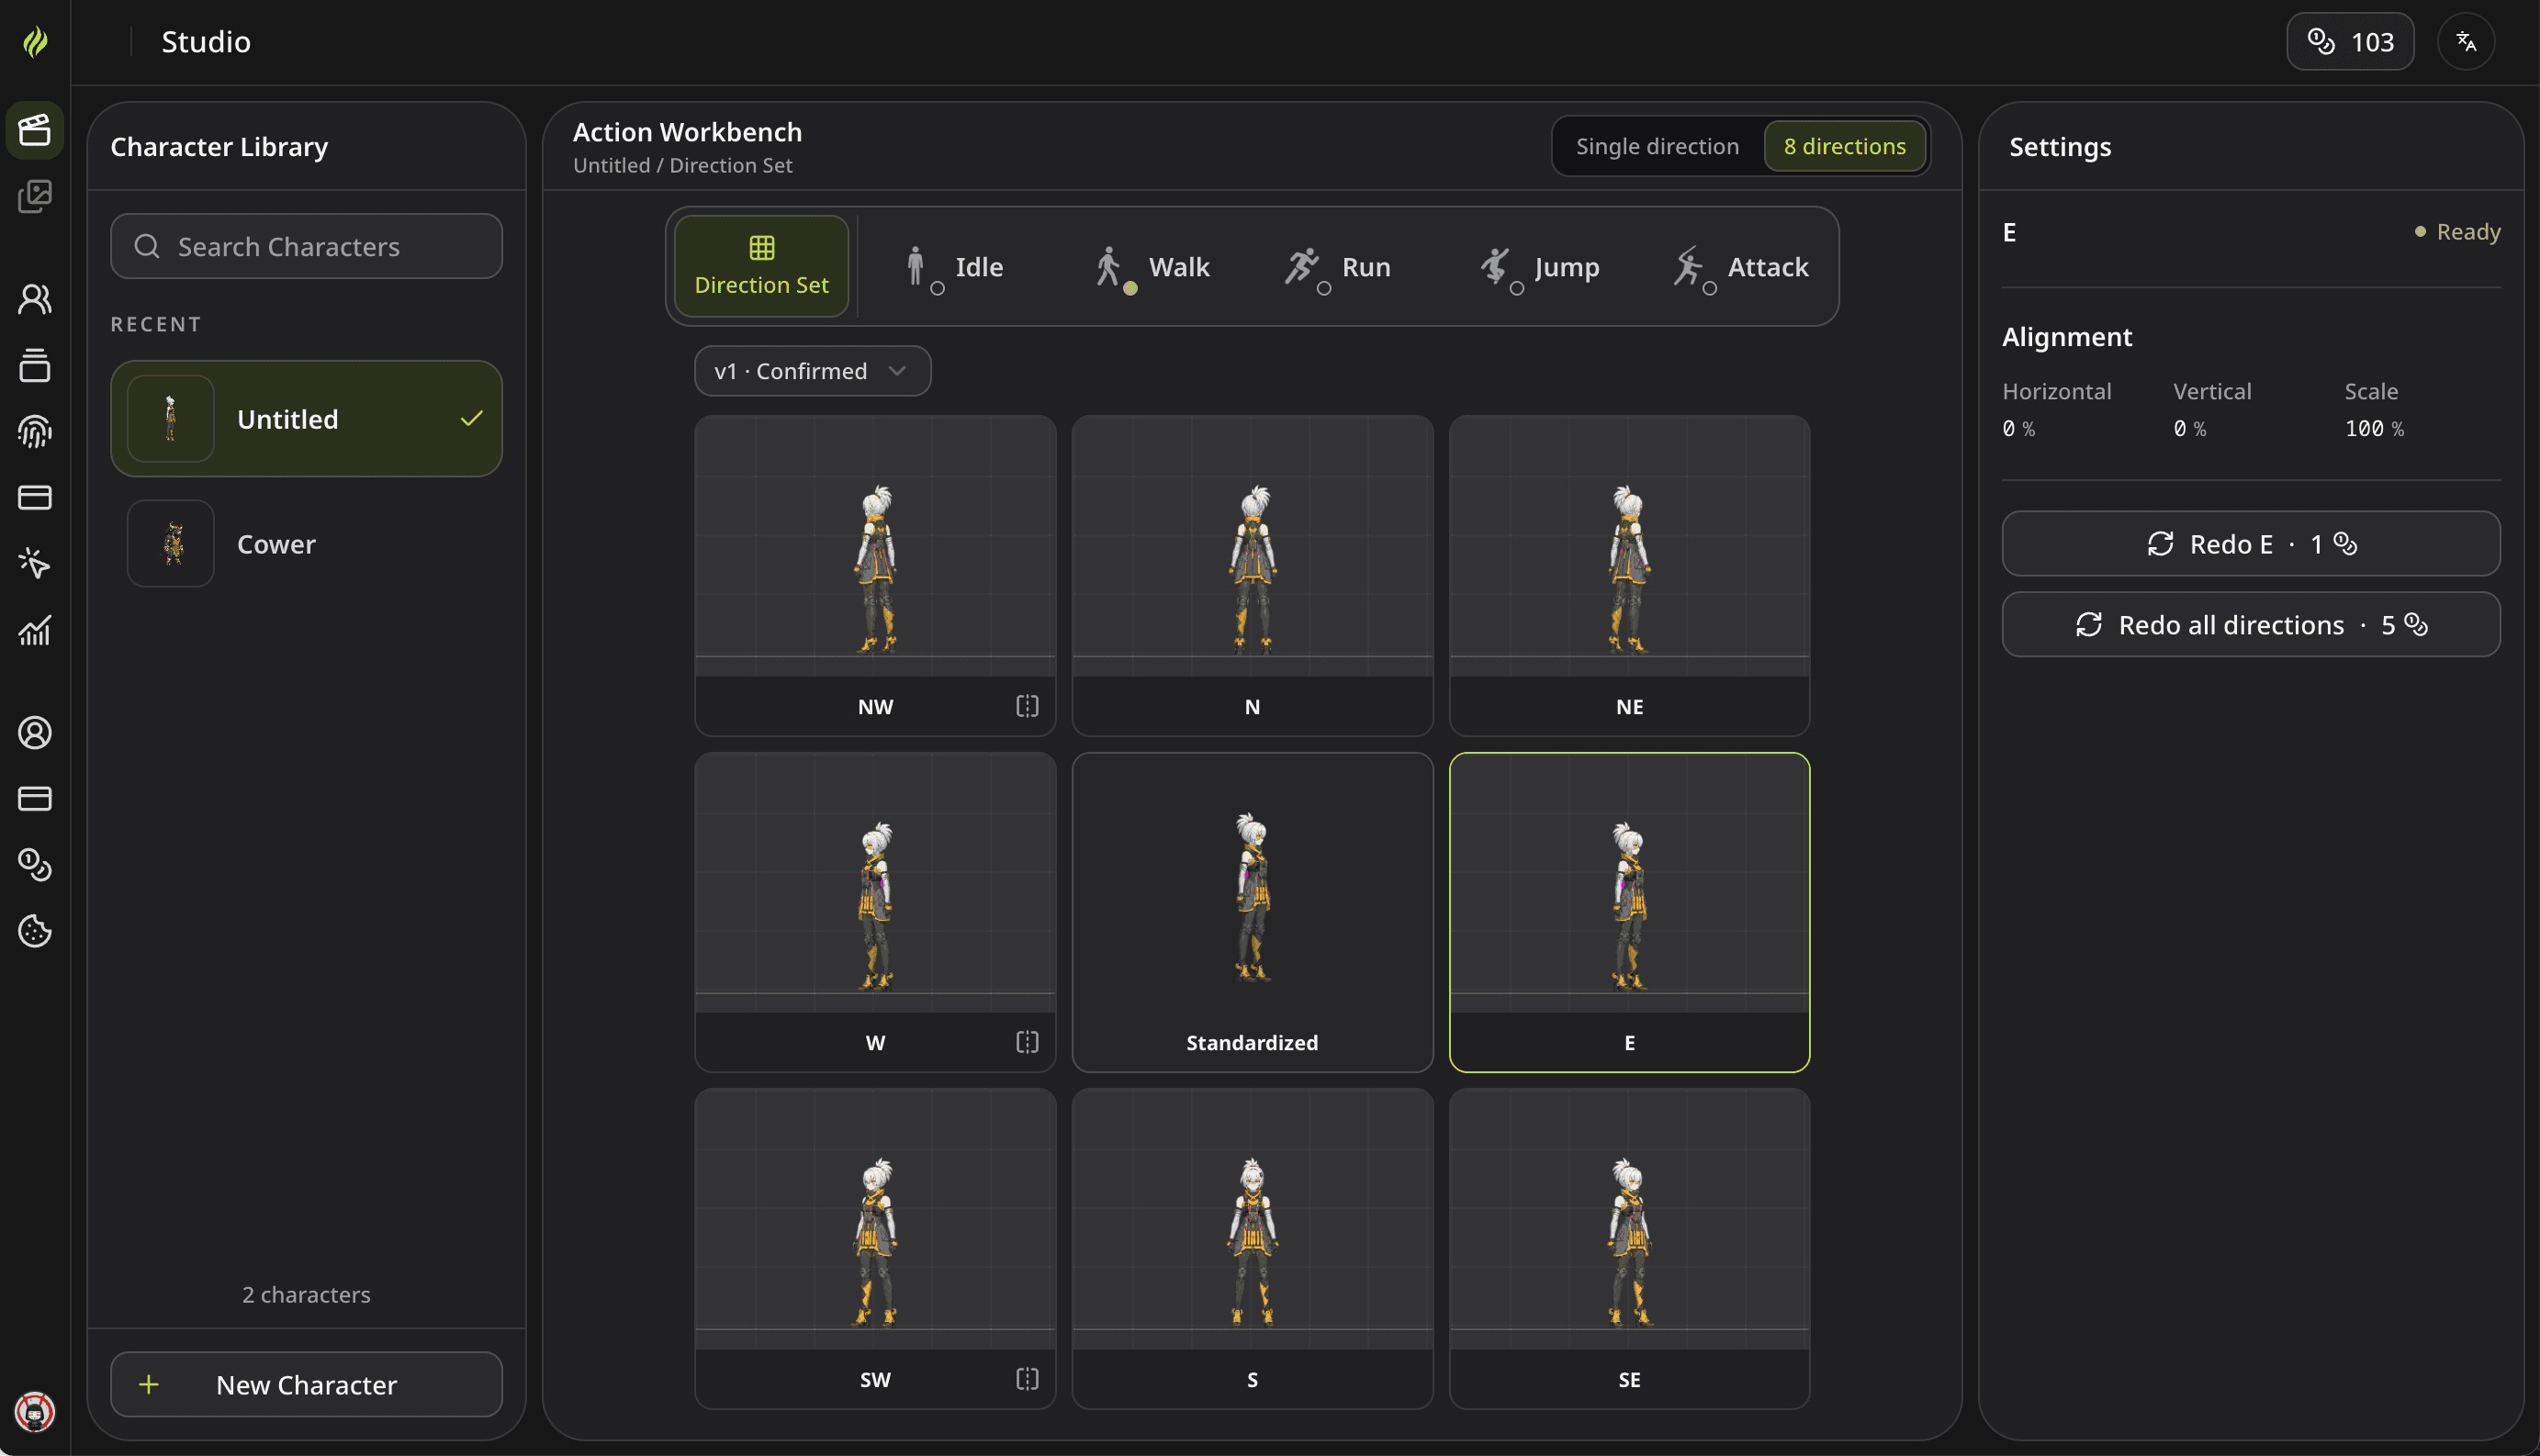
Prepare a Character for Single or Eight-Direction Animation
Create a character from an image or description, review the reference, and prepare consistent facing directions for your game.

How to Create and Export Character Animations in Spritix
Start with an image or a character description, create actions, refine the animation, and export files for your game.
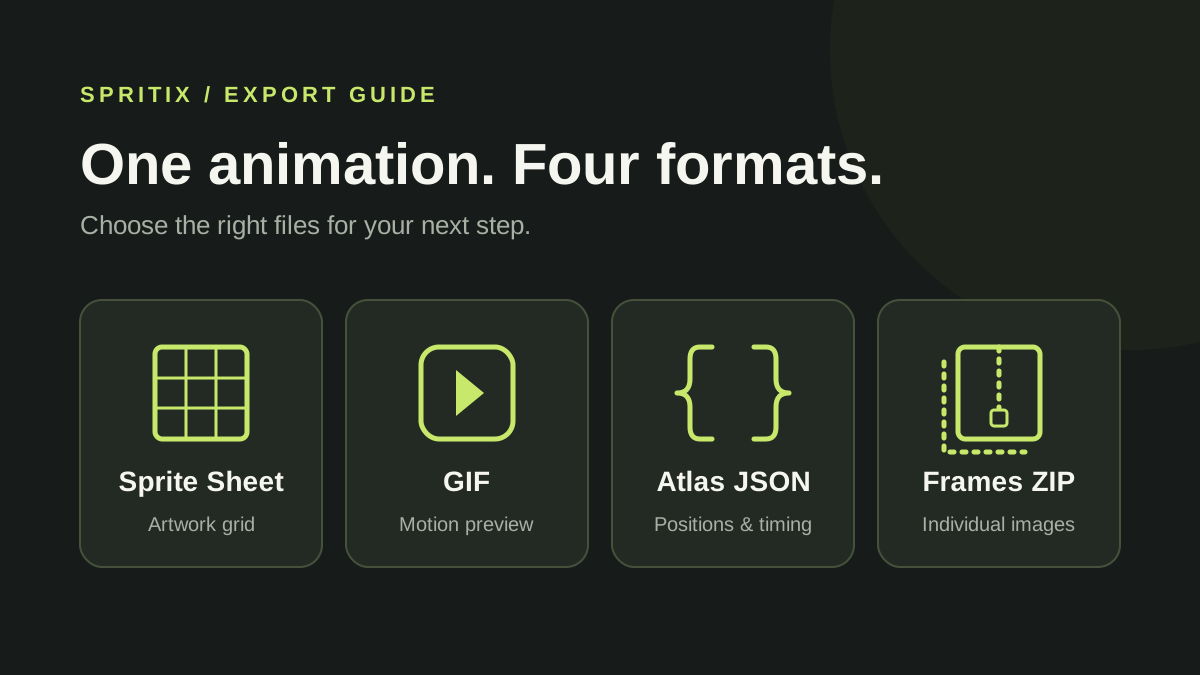
Spritix Export Formats: Sprite Sheet, GIF, Atlas JSON, and PNG Frames
A practical guide to what each Spritix download contains, where frame order and timing are stored, and which files to use in a game project.