Refine Animation Loops Without Starting Over
Learn when to trim, change speed, use Perfect Loop, or generate a new version, with clear limits for each control.
You have an animation, but it is not quite ready: the first frames hesitate, the loop snaps, or the motion plays too quickly. Before generating another version, check whether you can fix the usable part of the result in Settings & Export.
This guide continues from the character animation workflow. Editing uses no generation credits, although some controls have plan limits.
Find the editing controls
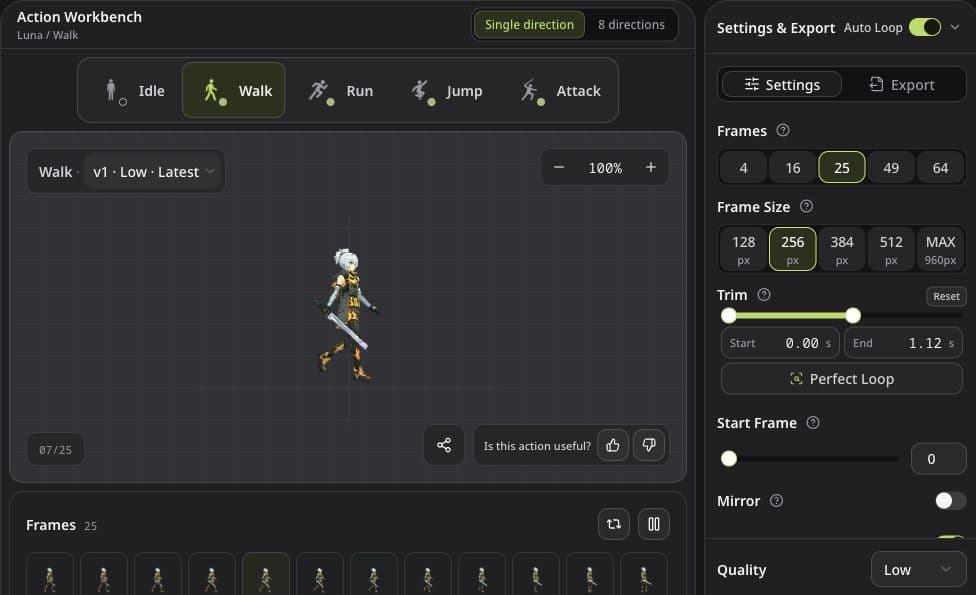
Select a finished action and open the Settings tab in Settings & Export. On a small screen, use the bottom Settings & Export button. Speed is separate: it sits below the frame strip in the main workspace, and may require scrolling.
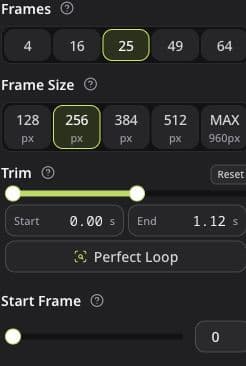
Reset and Perfect Loop are in the Trim section. Apply appears after you change the trim.
Match the control to the problem
| What you see | Try first | What it will not fix |
|---|---|---|
| Unwanted pause at the start or end | Trim the interval, then Apply | A bad pose inside the kept interval |
| A jump where the loop repeats | Perfect Loop, then review the seam | Missing motion or changing anatomy |
| Motion too fast or slow | Speed | Foot sliding caused by the artwork |
| Good loop, wrong starting pose | Start Frame | A mismatch between the last and first poses |
| Too few or too many exported frames | Frames | New hand-drawn poses or repaired details |
| Wrong output dimensions | Frame Size | Extra detail beyond the source |
| Resized edges look too soft or jagged | Smooth | Broken silhouettes or background-removal errors |
Start by watching the result at its intended in-game size. Then inspect individual frames around the problem. If a face, hand, or weapon changes incorrectly throughout the clip, a new generation may be the better choice.
Trim to the useful motion
Drag the two handles under Trim, or edit the Start and End times, to keep the part you want. Then select Apply, which appears beside Trim after a change. Until you apply it, the trim is a draft; saved previews and exports use the applied settings.
For a walk cycle, look for a complete repeating step pattern. For a jump or attack, keep the anticipation, main movement, and recovery your game needs. A shorter clip is not automatically a better one.
Reset restores the full video interval and applies it immediately. It resets the trim, not every export setting. You can use it if an automatic or manual trim removed too much of the action.
Use Perfect Loop as a starting point
Perfect Loop searches the existing clip for an interval with a smoother transition from the last frame back to the first and applies the trim when it succeeds. It does not draw new frames or repair a changing weapon, face, or limb.
After running it, watch several repeats. Check the last-to-first transition, but also make sure the selected interval still contains the action you intended. If it kept too little of a jump or attack, Reset and choose the interval manually.
Free accounts can unlock Perfect Loop for two saved animation versions per calendar month (UTC). A successful detection and save uses that allowance; a failed attempt does not. Repeating it on the same unlocked version does not consume another slot. Subscribers do not use the Free allowance.
Set up Auto Loop deliberately
With an active subscription, turn on the Auto Loop switch beside the Settings & Export heading. Its action menu opens after you enable it; use the adjacent arrow to reopen the menu and choose which actions it should process. It starts off disabled. Buying a subscription does not turn it on for you.
Use it for newly generated actions you expect to repeat. You may want Idle, Walk, and Run included while leaving Jump or Attack out, depending on how those actions work in your game.
Auto Loop does not go back through your entire animation history. For single-direction work, it processes new results generated in the current Studio session. In eight-direction work, newly generated source views can be processed; views copied from an earlier version keep their existing edits. Review the result just as you would a manual Perfect Loop attempt. You can still take over and trim manually.
Adjust timing and the first frame
Speed, below the frame strip, changes how quickly the existing motion plays. It does not create a new action. Adjust it while watching the feet and weight shifts, then check the saved preview before downloading.
Start Frame rotates where the exported sequence begins. Use it when a loop already works but you want a different starting pose. It cannot make two incompatible poses meet, and rotating a one-shot attack can put its recovery before its wind-up.
When importing into an engine, carry over the exported timing. A correct sequence played at the wrong frame rate can look very different. The export guide explains how Atlas JSON records that timing.
Choose frames, size, and smoothing
Frames controls how many frames are sampled from the selected interval. The available counts are 4, 16, 25, 49, and 64. More frames give you more samples, but also a larger texture and more memory use. They do not guarantee better source motion.
Frame Size is the square canvas size of each exported frame, including transparent space. It is not the character's visible height. Increasing it cannot recover detail that was not in the source. MAX uses the largest available frame size.
Smooth softens edges during resizing. Try it for illustrated artwork; leave it off when you want crisp pixel-art edges. It does not create extra poses between frames. Background cleanup is handled automatically rather than through a manual background-removal control in this workflow.
Mirror flips a single-direction result horizontally. Check asymmetric clothing and weapons before using the flipped result. Eight-direction mode already supplies its linked mirrored views.
Most settings save automatically. Let saving and preview preparation finish before exporting. Manual Trim is the exception: use Apply.
Keep good versions while iterating
The action button Redo generates a new version and charges generation credits. Use the Version menu above the preview to switch between saved attempts. Your previous version stays available, so compare the full animation rather than choosing only by its best frame.
In eight-direction mode, redo the source that needs work rather than regenerating every direction. The new version retains the other available sources from that set. A redo also replaces the source's mirrored view in the new version.
Settings belong to the selected version. For an eight-direction result, Frames, Frame Size, and Smooth apply across the result; Speed, Trim, and Start Frame follow the selected source and its mirror. Check each source's timing when switching directions in your game.
Know the Free plan limits
Editing itself does not spend generation credits. Free accounts have separate monthly allowances for Mirror, Smooth, Perfect Loop, and production downloads, each covering two saved animation versions per calendar month (UTC). An unlocked version retains that unlock; generating another version does not copy it.
Exporting 49 or 64 frames, or using 384 px, 512 px, or MAX frame size, requires a subscription unless that older result already has access. The options shown in Studio tell you what is available for the selected version. Auto Loop also requires a subscription. Current options and prices are on the pricing page.
Check once more before exporting
Play several repeats, inspect the seam, and check transparent edges against light and dark backgrounds. For a one-shot action, review the beginning and ending as separate poses instead of forcing a loop.
Once it looks right, use the export format guide to choose your files. The Godot tutorial takes a finished sheet through slicing and playback, so you can check the result in an actual engine.
Autor
Categorías
Más publicaciones
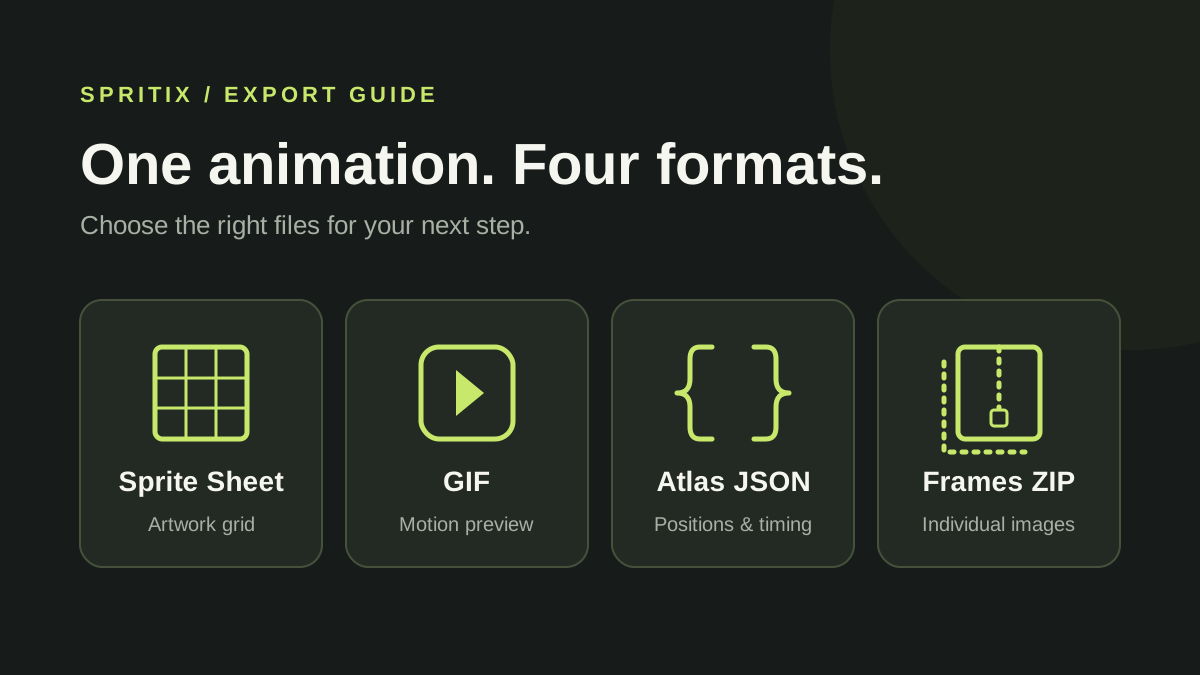
Spritix Export Formats: Sprite Sheet, GIF, Atlas JSON, and PNG Frames
A practical guide to what each Spritix download contains, where frame order and timing are stored, and which files to use in a game project.

Import a Spritix Sprite Sheet into Godot
Slice a sprite sheet, create a walk animation with AnimatedSprite2D, and match playback speed in Godot 4.
How to Create and Export Character Animations in Spritix
Start with an image or a character description, create actions, refine the animation, and export files for your game.